Putting your creative energy into decorating your home is a great way to make it uniquely yours. Displaying various picture prints around your house will help you do this while also adding a touch of modernity.
Aside from their artistic value as contemporary paintings, photo prints and photo wall are practical methods to preserve precious memories and showcase loved ones in their finest light. Canvas posters, featuring images of beloved animals or scenic locations, are another great way to inject life into any space.
Here are some basic but quick ideas for producing excellent photo prints if you are eager to update your boring walls with pictures.
1. Pick the Perfect Photos for Stunning Prints
If you’re planning to create a wall display of high-quality photo prints, you should choose images from the same scene to ensure the lighting and colour are consistent. Usually, a session will comprise several “mini-stories” shot from several viewpoints with varied degrees of close-up and landscape action. This is ideal for creating a gallery wall at home and gives you the freedom to fully express yourself. You can also choose to post a single large-scale, stunning picture.
2. Get the Right Resolution and File Formats
Make sure your image is of the right resolution to be enlarged before you decide to turn it into wallpaper or an extra-large photo. On average, a picture will have a resolution of 72 DPI (dots per square inch), whereas a big photo print would typically have at least 300 DPI.
The quality of your printed picture will be compromised if it is not saved as a high-resolution, large-format file. Raising the pixel count of your image in an editing application will make it more appropriate for large-format printing. However, nothing beats an original high-quality original.
Additionally, make sure you’re saving the picture in a compatible format. The most flexible and high-quality formats are TIFF and PDF. You can use a program to convert your picture if it isn’t already in that format.
3. Choose the Best Printing Material
Now that you have made sure you have the perfect photos with the right resolution, you should also ensure you hit the next step right by choosing the right material for your photo print tiles. Different materials will have different effects on how the photos look, quality and how long they last.
One of the go-to materials is the photo paper. It’s quite affordable and many people prefer it for its versatility and range of finishes which are glossy and matte. Glossy photo paper is shiny and makes pictures appear brighter and more vibrant. However, it is quite reflective. Matter paper, on the other hand, does not reflect light on its surface, and you can use it if you prefer neutral tones. Satin balances the best of both worlds resulting in less glare and more vivid photos.
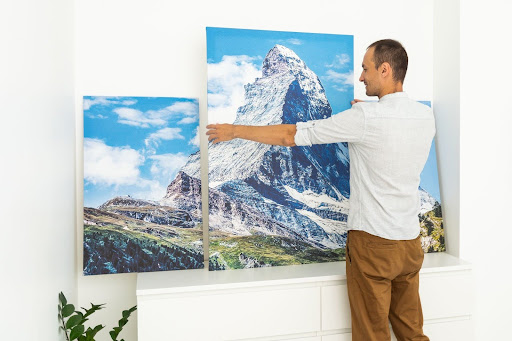
Canvas is also popular with photo prints due to its durability and the texture it adds to wall art. The material gives your wall photo prints a lifelike appearance because of the fabric’s inherent weave. You can therefore use it for stunning decorative prints and artwork.
Other excellent options for wall photo prints include acrylic, metal and wood prints. Acrylic has a glossy finish which makes pictures appear bright and sharp. Metal prints, although not popular, are perfect for multi-coloured wall art due to their shiny, reflecting surface. In contrast, wood prints have an organic, rustic charm that radiates a sense of homey warmth and nature.
4. Fine-Tune Colours for a Flawless Print
If you want your large prints to have true-to-life colours, you will need to fine-tune and calibrate the colours. This means ensuring the colour space on your computer is the same as that on your printer for improved colour accuracy on the final product.
RGB (red, green and blue) and CMYK (cyan, magenta, yellow, and black) are the commonly used colour spaces for displaying and printing images. RGB is mostly used for photos on digital screens, such as cameras and monitors, while CMYK is the standard for printing because it ensures an accurate colour reproduction on paper and other materials.
Therefore, when printing large format photos to pin on your living room wall, convert them from the RGB colour space to the CYMK. This ensures that the printer’s colour gamut, which is the assortment of colours it can provide, aligns with the colours in your photos. Additionally, you should calibrate your screen and printer settings to maintain colour consistency to prevent any noticeable shifts between the digital image and the final print.
Conclusion
Decorating your living space with your photographs is a wonderful way to add a personal touch and make it seem more like home. However, keep in mind that the mounting and frame can either diminish or improve the aesthetic value of your artwork or treasured photographs. Therefore, choose a frame that goes with your decor and brings out the best in your photos.
By adhering to the steps provided in this article, you should have no trouble creating wall photo prints that not only showcase your taste but also enhance the ambiance of your house.